Transforming your bathroom with a fresh coat of paint is one of the most cost-effective ways to breathe new life into this essential space. Whether you're dealing with outdated colors, moisture damage, or simply want to create a more relaxing atmosphere, painting your bathroom requires specific knowledge and techniques to ensure lasting results. In Kansas City, MO, where humidity levels can fluctuate dramatically throughout the seasons, choosing the right paint and application methods becomes even more critical for success.
This comprehensive guide will walk you through everything you need to know about painting your bathroom, from selecting the perfect paint type to mastering professional techniques that ensure your project stands the test of time. At KC Painting, we've helped countless Kansas City homeowners achieve stunning bathroom transformations, and we're sharing our expert insights to help you make informed decisions about your next painting project.
Understanding Bathroom Paint Requirements
Bathrooms present unique challenges that don't exist in other rooms of your home. The combination of moisture, temperature fluctuations, and frequent use means that not all paints are suitable for this environment. Understanding these specific requirements is the foundation of a successful bathroom painting project.
Moisture and Humidity Considerations
The primary challenge in bathroom painting is moisture management. Steam from hot showers, condensation, and general humidity create an environment where standard wall paints can quickly fail. In Kansas City, where summer humidity can reach uncomfortable levels and winter heating systems can create dry conditions, your bathroom paint must be versatile enough to handle these extremes.
Moisture can cause paint to peel, bubble, or develop mold and mildew underneath. This is why choosing moisture-resistant paint formulations is non-negotiable. The paint must create a barrier that prevents water from penetrating to the underlying surface while still allowing the wall to breathe naturally.
Temperature Fluctuations
Bathrooms experience more dramatic temperature changes than any other room in your home. The difference between a cool morning and the steamy environment during a hot shower can be 30-40 degrees or more. This thermal cycling causes expansion and contraction of both the paint film and the substrate, making flexibility a crucial characteristic of bathroom paint.
Cleaning and Maintenance Needs
Bathrooms require more frequent cleaning than other spaces, which means your paint must withstand regular washing with cleaning products. The paint finish should resist staining from soap scum, toothpaste, cosmetics, and other bathroom products while maintaining its appearance through repeated cleaning cycles.
Choosing the Right Paint Type and Finish
Selecting the appropriate paint for your bathroom project is perhaps the most critical decision you'll make. The wrong choice can lead to premature failure, costly repairs, and frustration. Here's what you need to know about paint types and finishes for bathroom applications.
Paint Types for Bathrooms
Acrylic Latex Paints are the preferred choice for most bathroom applications. These water-based paints offer excellent moisture resistance, easy cleanup, and good durability. Modern acrylic formulations include mold and mildew inhibitors that help prevent growth in humid conditions. They also have lower VOC content, making them safer for enclosed spaces.
Alkyd (Oil-Based) Paints provide superior adhesion and durability but come with trade-offs. While they create an extremely hard, washable surface, they take longer to dry, have stronger odors, and require mineral spirits for cleanup. In humid climates like Kansas City, the extended drying time can be problematic.
Specialty Bathroom Paints are formulated specifically for high-moisture environments. These premium products often include advanced mold and mildew resistance, superior moisture barriers, and enhanced durability. While more expensive, they can provide better long-term performance in challenging conditions.
Paint Finishes and Sheens
The sheen level of your paint dramatically affects both appearance and performance. Here's how different finishes perform in bathroom environments:
Satin Finish offers an excellent balance of durability and aesthetics. It provides good moisture resistance, is easy to clean, and doesn't show imperfections as readily as higher-gloss finishes. This is often the best choice for most bathroom walls.
Semi-Gloss Finish provides maximum moisture resistance and durability. It's exceptionally easy to clean and highly resistant to stains. However, it will highlight wall imperfections and can create a somewhat clinical appearance if not used thoughtfully.
Eggshell Finish can work in bathrooms with excellent ventilation but isn't recommended for high-moisture areas. It offers a beautiful, subtle appearance but lacks the moisture resistance needed for most bathroom applications.
Flat or Matte Finishes should generally be avoided in bathrooms unless they're specifically formulated for moisture resistance. Traditional flat paints are difficult to clean and prone to moisture damage.
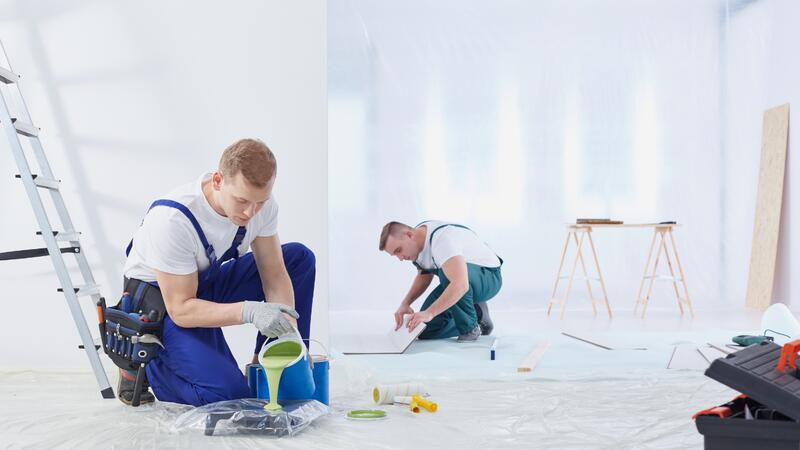
Essential Tools and Materials
Having the right tools and materials is crucial for achieving professional results in your bathroom painting project. Proper preparation and quality tools will save time, reduce frustration, and ensure a superior finish.
Basic Painting Tools
Brushes: Invest in high-quality synthetic brushes for water-based paints. A 2-inch angled sash brush is perfect for cutting in around fixtures and trim, while a 1-inch brush handles detail work around switches and outlets.
Rollers: Use a 9-inch roller with a 3/8-inch nap sleeve for smooth surfaces or 1/2-inch nap for textured walls. Microfiber roller sleeves provide excellent coverage and minimal texture.
Paint Trays and Liners: Deep paint trays with disposable liners make cleanup easier and prevent contamination between paint colors.
Preparation Materials
Primer: A high-quality bonding primer designed for moisture-prone areas is essential, especially when painting over glossy surfaces or making dramatic color changes.
Sandpaper: 220-grit sandpaper for smoothing rough areas and lightly abrading glossy surfaces to improve adhesion.
Drop Cloths: Canvas or plastic drop cloths protect floors and fixtures. Canvas provides better traction and won't tear as easily as plastic.
Painter's Tape: High-quality painter's tape ensures clean lines and protects surfaces you don't want painted. Remove tape while paint is still slightly damp for the cleanest lines.
Specialty Items for Bathroom Painting
Extension Pole: Essential for reaching high areas safely, especially around tubs and showers.
Mini Rollers: Perfect for painting behind toilets and in other tight spaces.
Foam Brushes: Ideal for applying paint to detailed trim work and hard-to-reach areas.
Step-by-Step Bathroom Painting Process
Following a systematic approach ensures professional results and helps you avoid common mistakes that can compromise your project's success.
Step 1: Planning and Preparation
Begin by removing all removable items from the bathroom, including towel bars, toilet paper holders, and switch plates. For fixtures that can't be removed, use high-quality painter's tape and plastic sheeting for protection.
Calculate your paint needs accurately. Measure wall surfaces, subtract areas for windows, doors, and permanent fixtures, then add 10% for touch-ups. In Kansas City's variable climate, having extra paint on hand is especially important for future maintenance.
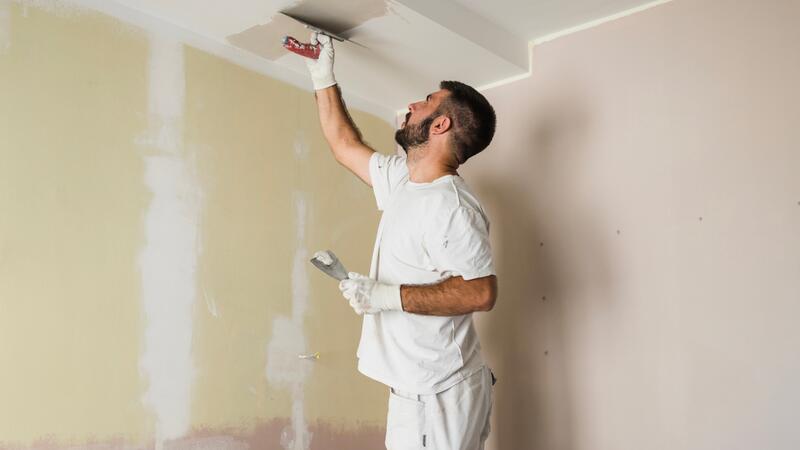
Step 2: Surface Preparation
Proper surface preparation is crucial for long-lasting results. Start by thoroughly cleaning all surfaces with a degreasing cleaner to remove soap scum, mildew, and other residues. Allow surfaces to dry completely before proceeding.
Fill nail holes and small cracks with spackling compound, then sand smooth once dry. For larger repairs, use mesh tape and joint compound. Lightly sand glossy surfaces to improve primer adhesion.
Step 3: Priming
Apply a high-quality bonding primer designed for bathroom use. This step is critical when painting over dark colors, glossy surfaces, or when switching between paint types. Use a brush for detailed areas and a roller for larger surfaces, maintaining a wet edge to prevent lap marks.
Pay special attention to areas around the tub and shower, where moisture exposure is highest. Apply primer in thin, even coats and allow full drying time before applying paint.
Step 4: Painting Technique
Start with the ceiling if you're painting it, then move to walls. Cut in edges and corners with a brush, then use a roller to fill in larger areas. Work in small sections to maintain a wet edge and prevent visible lap marks.
Apply paint in a consistent pattern: roll in a "W" shape, then fill in with parallel strokes. This technique ensures even coverage and prevents streaking. Most bathroom projects require two coats for optimal coverage and durability.
Step 5: Final Details and Cleanup
After the final coat has dried, carefully remove painter's tape by pulling at a 45-degree angle. Touch up any areas where tape may have pulled up paint. Reinstall hardware and fixtures, taking care not to scratch or damage the fresh paint.
Clean brushes and rollers thoroughly if using water-based paint, or dispose of them properly if using oil-based products. Store leftover paint in a cool, dry place for future touch-ups.
Color Selection and Design Tips
Choosing the right colors for your bathroom involves more than personal preference. Consider the size of your space, available natural light, and the overall style you want to achieve.
Colors That Work Well in Bathrooms
Light and Neutral Colors help small bathrooms feel larger and brighter. Whites, soft grays, and warm beiges create a clean, spa-like atmosphere while maximizing the effect of available light.
Cool Colors like soft blues, greens, and lavenders create a calming, relaxing environment perfect for unwinding after a long day. These colors work particularly well in bathrooms with good natural light.
Bold Accent Walls can add personality without overwhelming a small space. Consider painting one wall in a deeper or more saturated color while keeping the remaining walls neutral.
Considering Your Home's Architecture
In Kansas City, many homes feature traditional architectural styles that influence color choices. Colonial and Victorian homes often benefit from classic color palettes, while mid-century modern homes can handle bolder, more contemporary colors.
Consider your home's existing color scheme and choose bathroom colors that complement rather than clash with adjacent spaces. This creates better flow and can increase your home's overall value.
Lighting Considerations
Bathroom lighting significantly affects how colors appear. Test paint colors under different lighting conditions – natural daylight, overhead fixtures, and vanity lighting – before making your final decision. What looks perfect in the paint store may appear completely different in your bathroom's specific lighting conditions.
Common Mistakes to Avoid
Learning from common painting mistakes can save you time, money, and frustration. Here are the most frequent errors homeowners make when painting bathrooms and how to avoid them.
Inadequate Surface Preparation
Rushing through preparation is the most common cause of paint failure. Skipping proper cleaning, not allowing adequate drying time, or failing to use primer can lead to poor adhesion, peeling, and premature failure.
Wrong Paint Selection
Using standard interior paint instead of moisture-resistant formulations is a costly mistake. In Kansas City's humid summers, this oversight can lead to mold growth, peeling, and the need for complete repainting within months.
Poor Ventilation During Application
Inadequate ventilation during painting can extend drying times and create an uncomfortable working environment. Ensure good airflow, but avoid creating drafts that can cause paint to dry too quickly and leave brush marks.
Ignoring Manufacturer Instructions
Each paint product has specific application requirements, including temperature ranges, humidity levels, and recoat times. Ignoring these specifications can compromise performance and void warranties.
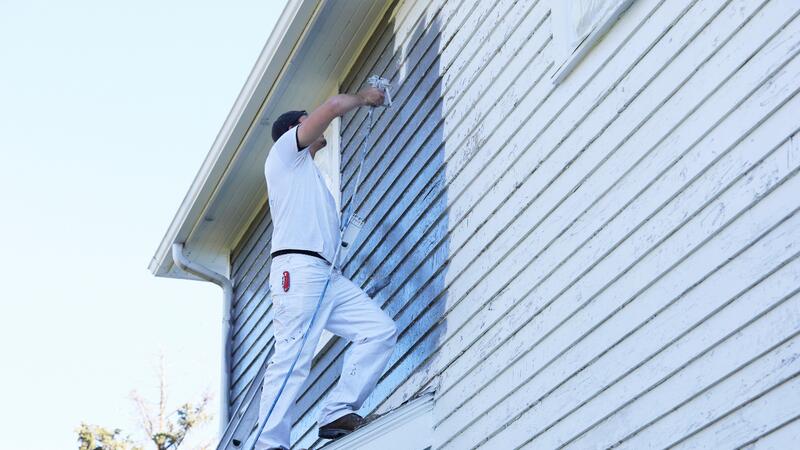
Professional vs. DIY: Making the Right Choice
Deciding whether to tackle your bathroom painting project yourself or hire professionals depends on several factors, including your skill level, available time, and the complexity of your specific situation.
When DIY Makes Sense
Simple bathroom painting projects in good condition are often suitable for DIY completion. If your walls are in good condition, you have the necessary tools and time, and you're comfortable working in tight spaces, DIY can be cost-effective.
Consider DIY if you're painting over similar colors, working with standard wall surfaces, and don't need extensive preparation work. The satisfaction of completing the project yourself can be rewarding, and you'll save on labor costs.
When to Call Professionals
Complex projects involving extensive preparation, repair work, or specialty finishes often benefit from professional expertise. If your bathroom has mold issues, significant wall damage, or requires lead-safe work practices, professional contractors have the training and equipment to handle these challenges safely.
KC Painting brings years of experience working with Kansas City's unique climate challenges and building styles. Professional contractors can also complete projects more quickly, often finishing in one day what might take a homeowner an entire weekend.
Cost Considerations
While DIY projects save on labor costs, factor in the cost of tools, materials, and your time. Professional painting services provide warranties on their work and often have access to better pricing on premium materials. When you consider the potential for costly mistakes and the time investment required, professional services often provide better value.
Maintenance and Longevity Tips
Proper maintenance extends the life of your bathroom paint job and keeps your space looking fresh and clean. Regular care prevents small issues from becoming major problems.
Regular Cleaning Practices
Clean painted surfaces regularly with mild soap and water, avoiding harsh chemicals that can damage paint films. Use soft cloths or sponges rather than abrasive materials that can scratch the surface.
Address stains and marks promptly before they become permanent. Most bathroom paints are designed to handle regular cleaning, but gentle methods are always preferable.
Ventilation and Moisture Control
Proper ventilation is crucial for maintaining painted surfaces in bathrooms. Use exhaust fans during and after showers to remove excess moisture. In Kansas City's humid climate, running fans longer than you might think necessary can prevent moisture-related problems.
Consider upgrading to a more powerful exhaust fan if you notice persistent moisture issues. Proper ventilation protects not only your paint but also prevents mold growth and structural damage.
Touch-Up and Repair
Keep leftover paint for touch-ups and minor repairs. Small nicks and scratches are inevitable in busy bathrooms, but prompt touch-ups prevent them from becoming larger problems.
Inspect your bathroom regularly for signs of paint failure, such as peeling, bubbling, or discoloration. Addressing these issues early prevents more extensive repair needs later.
Frequently Asked Questions
What type of paint is best for bathrooms?
The best paint for bathrooms is high-quality acrylic latex paint with a satin or semi-gloss finish. These paints offer excellent moisture resistance, mold and mildew inhibitors, and easy cleaning capabilities. Specialty bathroom paints provide even better performance in high-moisture environments. Avoid flat or matte finishes unless they're specifically formulated for bathroom use, as they don't provide adequate moisture resistance and are difficult to clean.
How long should I wait between coats when painting a bathroom?
Wait times between coats depend on paint type, temperature, and humidity levels. Most high-quality bathroom paints require 2-4 hours between coats under normal conditions. In Kansas City's humid summers, extend drying times to ensure proper curing. Always follow manufacturer recommendations and test a small area to ensure the first coat is completely dry before applying the second coat. Rushing this process can lead to poor adhesion and finish problems.
Do I need to use primer when painting my bathroom?
Using primer is highly recommended for bathroom painting projects, especially when painting over dark colors, glossy surfaces, or bare drywall. Primer improves paint adhesion, provides better coverage, and enhances durability in moisture-prone environments. When switching from oil-based to latex paint or vice versa, primer is essential. High-quality bonding primers designed for bathrooms include moisture barriers and mold inhibitors that contribute to long-term success.
Can I paint over existing wallpaper in my bathroom?
While it's possible to paint over wallpaper, it's not recommended in bathrooms due to moisture concerns. Wallpaper adhesive can fail in humid conditions, causing both wallpaper and paint to peel. If removal isn't possible, ensure the wallpaper is firmly adhered, clean it thoroughly, and use a high-quality primer designed to seal wallpaper. However, removing wallpaper and properly preparing the wall surface provides much better long-term results.
How do I paint behind a toilet without removing it?
Painting behind a toilet requires careful planning and the right tools. Use a mini roller with an extension handle to reach tight spaces, and consider using a foam brush for detailed work. Remove the toilet tank lid for better access, and use painter's tape to protect the toilet base. An angled brush helps paint along the toilet's curves. While you can achieve good results without removal, removing the toilet provides the best access and professional-quality results.
What's the average cost to paint a bathroom in Kansas City?
Bathroom painting costs in Kansas City typically range from $300-800 for professional services, depending on size, condition, and paint quality. DIY projects cost $50-200 for materials, but factor in tool costs if you don't own them. Costs increase for bathrooms requiring extensive preparation, repairs, or premium paint products. Getting multiple quotes from local contractors helps ensure fair pricing and allows you to compare services offered.
How often should I repaint my bathroom?
Most bathrooms need repainting every 3-5 years, depending on usage, moisture levels, and paint quality. Bathrooms with excellent ventilation and high-quality paint may last longer, while heavily used spaces or those with poor ventilation may need attention sooner. In Kansas City's variable climate, regular inspection helps determine when repainting is needed. Signs that it's time to repaint include peeling, fading, staining, or difficulty cleaning the surfaces.
Transform Your Bathroom with Professional Results
Painting your bathroom successfully requires the right combination of quality materials, proper techniques, and attention to detail. While this comprehensive guide provides the knowledge needed for a successful DIY project, sometimes the expertise and efficiency of professional painters make the investment worthwhile.
At KC Painting, we understand the unique challenges that Kansas City's climate presents for bathroom painting projects. Our experienced team has helped hundreds of local homeowners achieve beautiful, long-lasting results using premium materials and proven techniques. Whether you're dealing with moisture issues, need extensive preparation work, or simply want the peace of mind that comes with professional warranties, we're here to help.
Don't let a poorly executed paint job compromise your bathroom's appearance and functionality. Contact KC Painting today at (816) 281-7039 to discuss your bathroom painting project and discover how our expertise can transform your space with results that stand the test of time.