Painting trim, baseboards, and crown molding can completely transform the look of your home. These finishing details frame your rooms and add architectural interest that elevates your entire space. Whether you're tackling a single room or your entire Kansas City home, learning how to paint these elements like a professional will save you money and give you results you can be proud of.
The good news? With the right preparation, materials, and techniques, achieving that polished, professional finish isn't as difficult as you might think. This comprehensive guide will walk you through every step of the process, from prep work to final touches.
Why Trim, Baseboards, and Crown Molding Matter
Before we dive into the how-to, let's talk about why these elements are so important. Trim, baseboards, and crown molding serve both functional and aesthetic purposes in your home. They protect walls from damage, hide gaps between walls and floors, and provide a visual transition between different surfaces.
In Kansas City homes, especially those with traditional architectural styles, beautiful trim work can add significant value to your property. The contrast between crisp white trim and painted walls creates clean lines that make rooms feel larger and more polished. Whether your Kansas City home has classic period details or modern minimalist trim, proper painting technique ensures these features look their absolute best.
Understanding the Differences: Trim vs. Baseboards vs. Crown Molding
While these terms are sometimes used interchangeably, each element has specific characteristics:
Trim refers to the decorative molding around windows, doors, and other openings. It frames these architectural features and creates visual interest.
Baseboards are the horizontal trim pieces that run along the bottom of your walls where they meet the floor. They protect walls from scuffs and provide a finished look to your rooms.
Crown molding is the decorative trim installed where the walls meet the ceiling. It adds elegance and architectural detail to any room and is especially popular in Kansas City homes with classic design aesthetics.
Each requires slightly different preparation and painting approaches, which we'll cover in detail.
Step 1: Gather Your Materials and Tools
Proper preparation starts with having the right supplies. Here's what you'll need:
Paint and Primer:
- High-quality acrylic latex paint or oil-based paint (semi-gloss or satin finish works best for trim)
- Bonding primer for raw wood or previously stained surfaces
- Plan for one gallon to cover approximately 350-400 square feet
Application Tools:
- 2-2.5 inch angled soft-bristle brushes (this size is ideal for most trim work)
- Brush comb for cleaning
- Paint roller for larger flat surfaces (optional)
- Paint tray or container
Preparation Supplies:
- Painter's tape (high-quality tape like FrogTape provides cleaner lines)
- Sandpaper (120-150 grit for initial sanding, 220 grit for final smoothing)
- Sanding sponges for curved surfaces
- Caulk and caulk gun for filling gaps
- Drop cloths or plastic sheeting
Cleaning and Safety:
- TSP (trisodium phosphate) or all-purpose degreaser
- Sponges and clean rags
- Damp cloth or tack cloth for dust removal
- Safety glasses
- Work gloves
- Painter's respirator (especially important during Kansas City's humidity seasons)
When shopping for materials in the Kansas City area, expect to spend:
- Paint: $30-60 per gallon depending on quality
- Primer: $20-40 per gallon
- Supplies (tape, caulk, brushes, etc.): $50-100
- Total cost for an average room: $100-200
Step 2: Prepare Your Space and Protect Surrounding Areas
Proper preparation is what separates amateur results from professional-looking finishes. This step can't be rushed.
Clean the Trim Thoroughly
Before any painting begins, clean your trim with a degreaser or all-purpose cleaner. Over time, baseboards and trim accumulate dust, pet dander, and greasy residue that prevents paint adhesion. This is especially important in Kansas City kitchens and bathrooms where humidity and cooking grease can buildup on surfaces.
Use a damp sponge or cloth to wipe down all surfaces. Pay special attention to corners and detailed areas where dust collects. Allow the trim to dry completely—at least 2-4 hours—before proceeding.
Sand the Surfaces
Sanding creates a smooth base for primer and paint to adhere properly. Light sanding also opens the wood pores, allowing better paint penetration.
- For raw wood: Use 120-grit sandpaper in the direction of the wood grain
- For previously painted trim: Use 150-220 grit sandpaper
- For detailed crown molding: Use sanding sponges to follow the contours
Sand lightly—you're not trying to remove all existing finish, just rough up the surface. After sanding, wipe all surfaces with a tack cloth to remove dust.
Caulk Gaps and Imperfections
This is the step many DIYers skip, but it's crucial for a professional finish. Gaps between trim and walls, or between sections of molding, should be filled with paintable caulk.
Apply caulk in thin, smooth beads using steady pressure on your caulk gun. Use a damp finger or caulk tool to smooth the bead into a flush, even surface. This creates seamless transitions that look polished and professional.
Apply Painter's Tape
High-quality painter's tape creates crisp paint lines and protects your walls and floors:
- Apply tape to the wall above baseboards and below crown molding
- Press tape firmly so paint doesn't seep underneath
- For baseboards: Apply a line of tape along the floor to protect it
- Remove tape while paint is still slightly tacky (about 15-30 minutes after painting) for the cleanest lines
Step 3: Prime Like a Professional
Many DIYers skip primer, but this is a mistake. Primer:
- Provides better paint adhesion
- Ensures even coverage and color
- Blocks stains from bleeding through
- Reduces the number of paint coats needed
Primer Application Process:
- Choose the right primer: Use a bonding primer for raw wood, stained surfaces, or if you're painting over previously finished trim
- Apply thin, even coats: Use your 2-2.5 inch angled brush to apply primer in the direction of the wood grain
- Work from top to bottom: Start with crown molding, then window trim, door trim, and finally baseboards
- Don't overload the brush: This prevents drips and runs that plague amateur projects
- Allow proper drying time: Most primers dry in 1-3 hours, but check your product specifications
In Kansas City's humid climate, allow extra drying time between coats. Humidity can extend drying times by 25-50% compared to dry climates.
Step 4: Apply Your Finish Paint
This is where your hard work pays off. The preparation you've done makes this step much easier and produces superior results.
Painting Application Technique
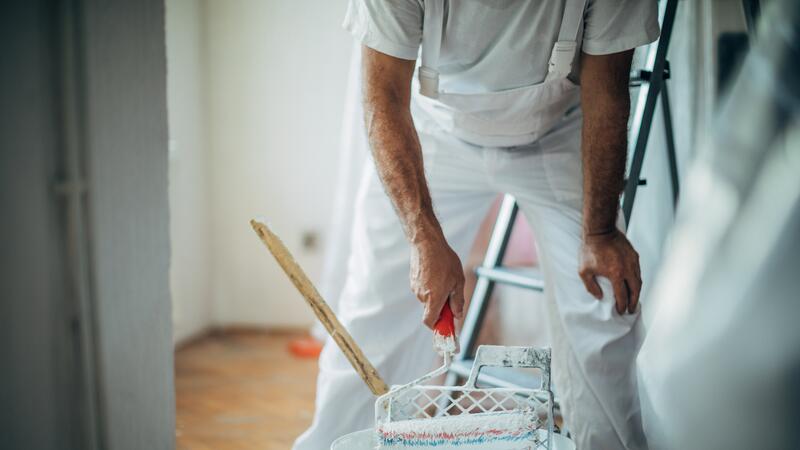
Brush Selection Matters: Use only high-quality angled soft-bristle brushes. Cheap brushes shed bristles and create poor coverage. A quality 2-2.5 inch angled brush should last many projects.
The Painting Process:
- Load the brush correctly: Dip the brush about one-third of the way into the paint, tapping it gently against the inside of the paint can to remove excess
- Paint with the grain: Always paint in the direction of the wood grain for a smooth, professional appearance
- Use thin, even strokes: Multiple thin coats look better than one thick coat and reduce dripping
- Maintain a wet edge: Blend each new section slightly into the previously painted area to avoid lap marks
- Work systematically: Start at the top of the room and work downward—crown molding first, then trim around doors and windows, finally baseboards
Painting Direction Strategy
As recommended by Benjamin Moore and professional painters, work from top to bottom:
- Crown molding (if applicable)
- Door and window frames
- Wall trim and wainscoting
- Baseboards last
This order prevents drips from fresh paint landing on already-finished surfaces.
Apply Multiple Coats
Most quality paints require two coats for optimal coverage and color saturation. After the first coat dries completely (typically 4-6 hours for latex paint, longer for oil-based), lightly sand with 220-grit sandpaper to ensure the second coat adheres properly.
Apply your second coat following the same technique as the first. The second coat should be your final finish.
Step 5: Special Techniques for Professional Results
Creating Perfect Cut Lines
One hallmark of professional painting is sharp, clean paint lines. Here's how to achieve them:
Using Painter's Tape Effectively:
- Use premium painter's tape rather than basic blue tape
- Press the tape firmly along its entire length to prevent paint seepage
- Remove tape while paint is still slightly wet (15-30 minutes after application) rather than waiting until it's completely dry
- Pull the tape at a 45-degree angle for the cleanest lines
The 5-in-1 Tool Method: Professional painters sometimes use a clean 5-in-1 tool or putty knife held at a shallow angle along the edge where trim meets wall or floor, using it as a paint guard while brushing up to it.
Handling Inside and Outside Corners
Inside Corners:
- Use a smaller brush or the corner of your angled brush
- Paint one surface completely, then cut in the adjacent surface
- Blend slightly where surfaces meet
Outside Corners:
- Paint one side completely first
- Paint the adjacent side, slightly overlapping at the corner
- Use a nearly dry brush to blend and feather the overlap for a seamless appearance
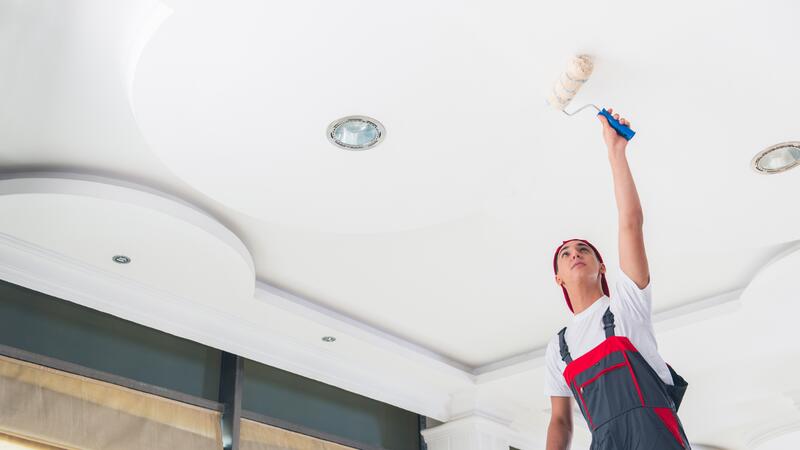
Crown Molding Considerations
Crown molding presents unique challenges because it sits at an angle and involves painting both a ceiling and wall surface. This is where KC Painting's professionals really shine.
Tips for Crown Molding Success:
- The two-tape method works well: tape along the ceiling and wall edges
- Paint the soffit (the recessed part) first, then the face
- Maintain a wet edge to avoid visible lines
- Take your time with detailed molding profiles
- Consider hiring KC Painting for elaborate or high crown molding—reaching these areas safely and painting them perfectly requires experience
Environmental Considerations for Kansas City
Kansas City's climate presents specific challenges for paint projects. Our Missouri weather includes:
High Humidity: Kansas City experiences significant humidity, especially during spring and summer. Paint and primer take longer to dry in humid conditions. Plan for:
- Extended drying times between coats (add 25-50% to manufacturer recommendations)
- Improved ventilation with fans or open windows
- Painting earlier in the day to allow more drying time before evening humidity increases
Temperature Fluctuations: Kansas City's spring and fall seasons bring temperature swings that can affect paint adhesion and drying. Paint when temperatures are between 50-85°F for optimal results.
Seasonal Timing: Plan major trim painting projects for late fall or early spring when humidity is more manageable than summer months.
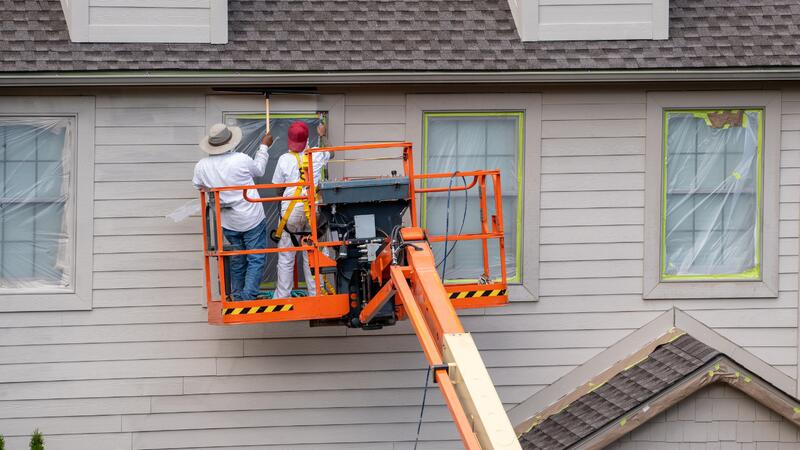
When to Call the Professionals at KC Painting
While many homeowners can successfully paint trim, baseboards, and crown molding, some situations warrant professional help. Consider calling KC Painting at (816) 281-7039 if:
- You have extensive crown molding requiring extensive detail work or high ceilings
- Your trim is stained or has water damage requiring repair and stain-blocking
- You want a perfect finish with no room for error
- Your schedule is tight and you need the work completed quickly
- You have multiple rooms in your Kansas City home requiring consistent professional results
- Your trim has lead paint (common in older Kansas City homes), which requires specialized handling
KC Painting brings professional expertise, high-quality materials, and efficient execution that guarantees results you'll love.
Common Mistakes to Avoid
Painting Without Primer
Saves time initially but results in poor coverage, need for extra paint coats, and stain bleed-through.
Using Low-Quality Brushes
Cheap brushes shed bristles, create poor coverage, and waste paint through excessive loading and dripping.
Applying Too-Thick Coats
More paint doesn't equal better results. Thick coats drip, sag, and dry unevenly. Thin, even coats produce professional finishes.
Skipping Tape on Baseboards
While tedious, taping baseboards to the floor prevents paint drips and creates crisp lines that define the room.
Not Sanding Between Coats
Skipping this step prevents the second coat from adhering properly and results in poor coverage.
Removing Tape Too Soon or Too Late
Remove tape while paint is slightly tacky for the cleanest lines. Waiting until paint is completely dry causes peeling and lines that aren't as sharp.
Frequently Asked Questions
What's the Best Paint Finish for Trim and Baseboards?
Semi-gloss or satin finishes work best for trim and baseboards. These finishes:
- Resist moisture better than flat paint
- Clean up more easily
- Highlight the details of molding profiles
- Provide durability in high-traffic areas
Satin finishes offer a slightly more subtle appearance, while semi-gloss provides maximum durability and washability. In kitchens and bathrooms, semi-gloss is superior due to moisture exposure.
Can I Paint Trim Without Removing It?
Yes, you can paint trim without removing it, and most residential projects proceed this way. Removal is necessary only if:
- Trim is severely damaged
- You're replacing it entirely
- You need to access areas behind the trim for repairs
Paint trim in place using proper preparation and technique as described in this guide.
How Long Does Trim Painting Take?
For an average room (approximately 12x14 feet):
- Preparation: 2-3 hours
- Priming: 1-2 hours
- Painting two coats: 2-3 hours
- Total: 5-8 hours spread over 2-3 days (accounting for drying time)
An entire house typically requires 3-5 days for a professional or experienced DIYer.
What Type of Paint Do You Recommend?
Quality acrylic latex paint is ideal for most homeowners because it:
- Dries quickly (4-6 hours)
- Has low odor
- Cleans up with water
- Resists yellowing
- Works well in Kansas City's humidity
Oil-based paints provide a harder finish but require longer drying times, are more difficult to clean up, and produce stronger odors. Professional painters often prefer oil-based for durability, but latex has improved significantly.
How Much Paint Do I Need?
For most residential trim projects:
- One gallon of primer covers approximately 350-400 square feet
- One gallon of paint covers approximately 350-400 square feet
- Most rooms require 1 gallon primer and 1-2 gallons paint
Measure your linear footage of trim, multiply by the width, and add 20% for multiple coats.
Should I Paint Crown Molding the Same Color as the Ceiling or Wall?
This depends on your design goals:
Paint crown molding the ceiling color to:
- Visually raise the ceiling
- Create a cohesive ceiling treatment
- Make rooms feel more spacious
Paint crown molding the wall color to:
- Create a dramatic architectural frame
- Add a pop of color
- Draw attention to the molding details
Both approaches work; choose based on your room's proportions and desired aesthetic. In Kansas City homes with high ceilings, matching the ceiling color often works best.
Is It Necessary to Prime Before Painting Trim?
Primer is necessary when:
- Painting raw, unfinished wood
- Covering stains or water damage
- Painting over dark colors with light colors
- Using latex paint over oil-based finishes
If you're repainting previously painted trim in good condition with the same type of paint, primer may be optional, but professionals recommend it for superior coverage and durability.
Your Path to Professional-Looking Trim
Painting trim, baseboards, and crown molding requires patience, attention to detail, and quality materials, but the results are absolutely worth the effort. The transformation these elements create in your Kansas City home is remarkable—crisp, fresh trim immediately updates any space and increases perceived value.
Whether you're refreshing a single room or undertaking a whole-home project, following these professional techniques ensures results you'll be proud of for years to come. The key to success is thorough preparation, quality materials, proper technique, and patience through the drying process.
Remember, while these projects are manageable for most homeowners, KC Painting's professionals handle trim, baseboard, and crown molding painting every day. We combine expert technique with premium materials to deliver results that exceed expectations. If you'd like professional guidance, want to ensure perfect results, or simply prefer to have experts handle the work, reach out to KC Painting.
Contact KC Painting Today
Ready to transform your Kansas City home with beautifully painted trim, baseboards, and crown molding? Whether you're tackling a DIY project and need advice, or you'd prefer to have professionals handle it, KC Painting is here to help.
Call KC Painting at (816) 281-7039 to discuss your project, get a free estimate, or schedule a consultation. Serving Kansas City, MO and surrounding areas, we're committed to delivering professional results that enhance your home's beauty and value.
Don't settle for less than professional—let KC Painting show you what perfect trim painting looks like.